Saturday, October 12, 2013

Fodder Project Part 3 : The Sprouts Day 2

 If you haven't read the other parts of The Fodder Project series then please click on these links below.

http://gonechicken.blogspot.com/2013/10/fodder-project-part-1.html
http://gonechicken.blogspot.com/2013/10/fodder-project-part-1-and-half-forgot.html
http://gonechicken.blogspot.com/2013/10/fodder-project-part-2-sequel.html


Welcome back to The Fodder Project. Here is the fodder for Day 2
Notice the sprouts coming out of the fodder , these will be the roots of the plant.
Another Picture of the sprouts

Continue rinsing twice a day. Now I run a fan on this to help with the growth , but it depends on where you are , and the temperature in your house. It just takes trial and error. Remember to start a new batch every day. Keep checking for more updates on the fodder project.

Chickenman

Thursday, October 10, 2013

Fodder Project Part 1 and a half : Forgot to add...

There's a couple of things I forgot to mention. You need to start a new batch of fodder soaking every day , that way you will have a batch ready for your chickens to eat every day. Also if your fodder gets dry , and you've already rinsed it twice , then you may have to rinse it again , or get a little spray bottle and give it a nice spritz of water ( I just give it the spritz of water with the spray bottle) . I will try to have the next update out by tonight or in the morning.

Chickenman

Sorry but it looks like I won't be able get the new post out tonight. Check back tomorrow.

Wednesday, October 9, 2013

Fodder Project Part 2 : The Sequel Day 1

Welcome back. If you haven't read the first post in this series please click on the link below.

http://gonechicken.blogspot.com/2013/10/fodder-project-part-1.html

So now I have let the grains soak for roughly 27 hours. You can't tell much difference in it except for a faint smell. Don't worry about the smell, it's just part of the process, there isn't anything wrong with it.
Here is the grain after soaking for 27 hours.

Now you need to set out the fodder. It's best to set it out in a plastic container ( roughly 13" long and 9" wide.  I found these cheap at the Dollar Tree ). I drilled roughly 25 holes in it ( you can adjust by the container you use )
This is roughly 13" long and 9" wide. It doesn't have to be perfect.
 So next you need a pan a little larger than the plastic pan, and put something like rocks to lift it slightly off the surface (so you fodder isn't sitting in water). Here's an example.
There doesn't have to be a ton of rocks just enough to lift the pan.

Now dump the water and fodder out in the plastic pans. It is best for this size batch to be divided into two 13"by 9" plastic pans ( It needs to be plastic. I have used both aluminum pans and plastic pans and got a higher yield from the plastic. )

Here is the fodder after pouring it in the pans. Remember it is best to divide between 2 pans.


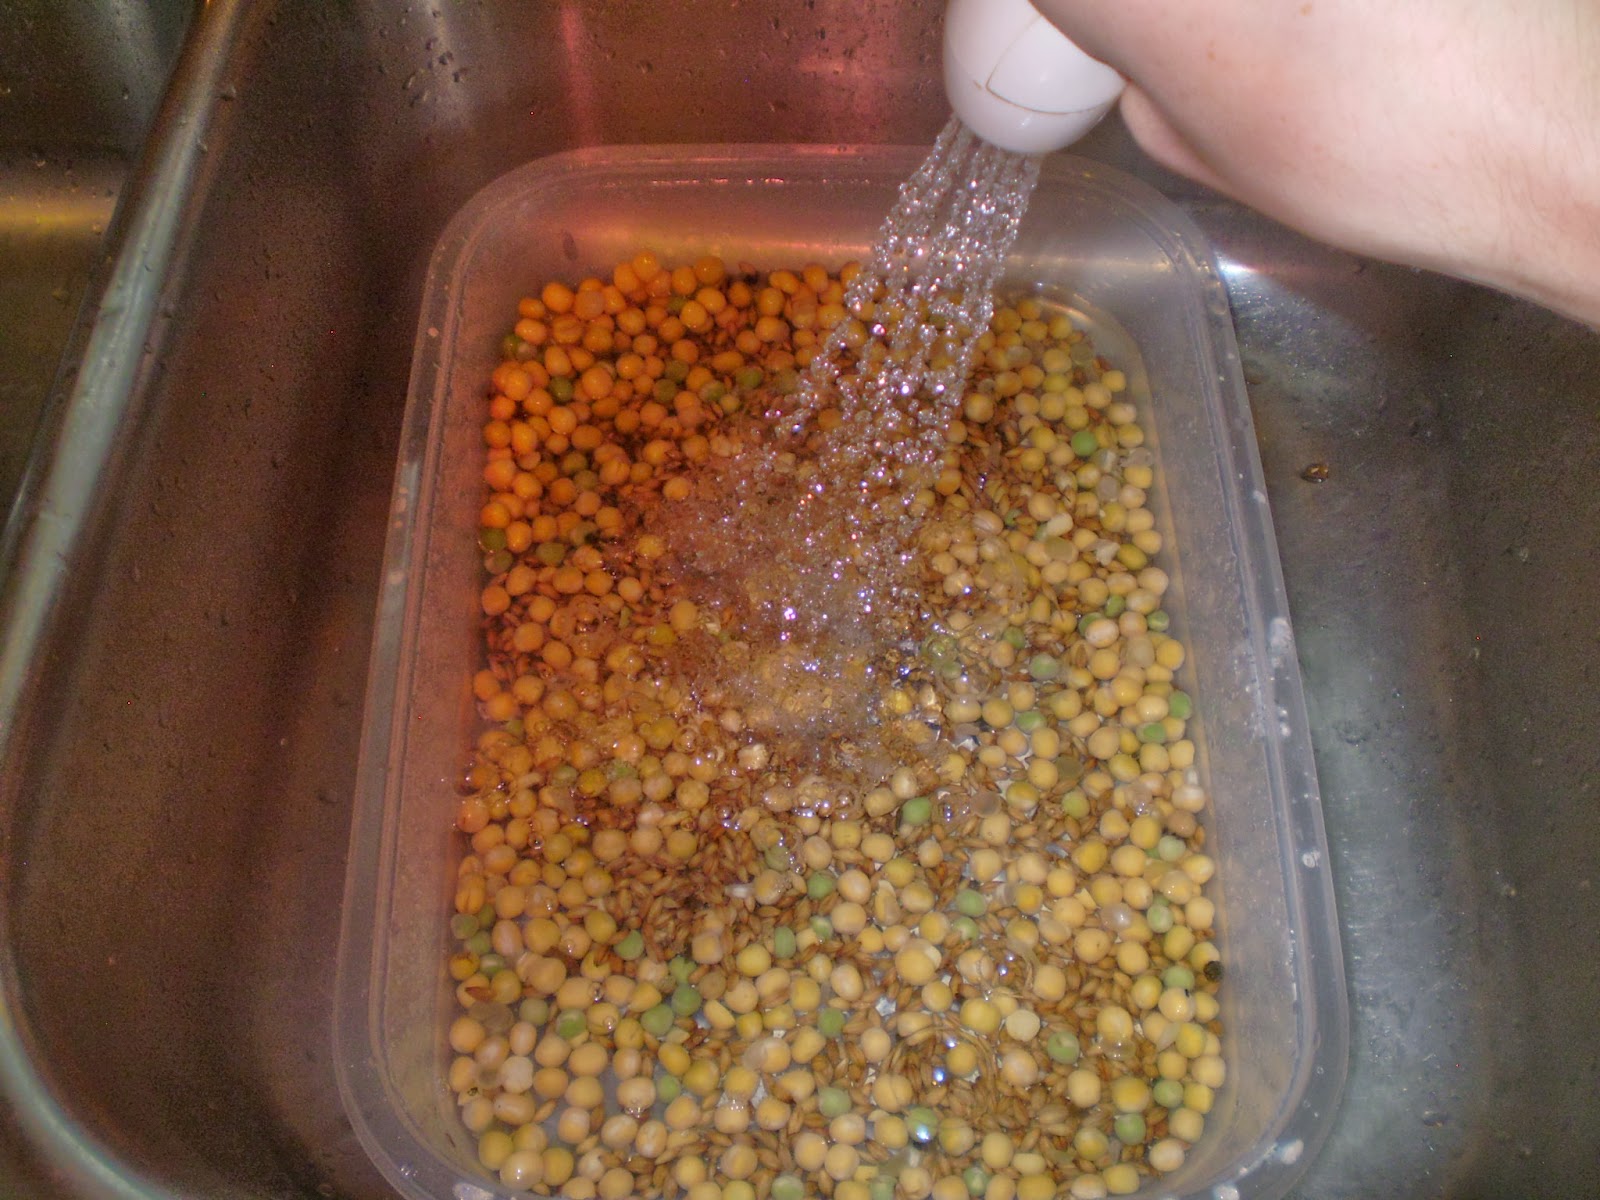
Now rinse it with cool water from the sink.


Then let it drain ( you may have to tilt it carefully in one direction to get the water out ).
Make sure you get all the water out ( If water sits in it , the fodder will begin to rot)
Here it is after it has drained sitting in the aluminum pan.
Now you need something to put it on ( A shelf is ideal )  Here's my set-up, it's not the prettiest , but I'm looking for efficient.
Here is the fodder. If you have to stack it , like I do , then make sure that they are tilted to allow air for the fodder.


Now you may have to rinse it one more time today ( I rinse it twice a day , roughly 12 hours apart) . It depends on several things. Just remember this is something you can experiment with. It just takes trial and error.
The ideal temperature is 65 to 70 degrees so you may have to run a small fan on it to keep it cooler , plus it gives it plenty of air-flow , which in turn helps prevent mold.
Well good luck and check back soon for part 3 of the fodder project.


Chickenman


Tuesday, October 8, 2013

Fodder Project : Part 1: Day 0

When I first got chickens I assumed you had to have chicken feed for them right ? No. Feed is the most expensive part of raising chickens so imagine if you could grow your own chicken feed right from home . No I'm not talking about planting tons of acres of wheat, corn, and other grains. I'm talking about growing your own feed inside your own home, its called Fodder. Earlier this year we got a magazine and my mom saw an article on fodder. She had me research it some more on the internet. After a few weeks of researching and gathering supplies I started experimenting with the fodder.

Things you will need
Plastic Trays (13"by 9" and 3"tall)
Grain (preferably Barley)
3% Hydrogen Peroxide 
Metal Trash can with tight lid


Metal Trash Can (prevents rain and pests from getting in)


Barley (must be unhulled , not heat treated , and not pearled)

Field Peas ( I use these for extra calcium)


I weigh out a pound of the grains ( 1 half pound Barley, 1 half pound Field Peas ). After you weigh the grain pour about half a teaspoon of 3% Hydrogen Peroxide on the grains. Mix with your hands so that the peroxide is on all the grain (the 3% hydrogen peroxide helps prevent mold which can be deadly to chickens) .  Then take the grain and rinse in a strainer in the sink with cool water , rinse it for at least 20 seconds.

This is the grain after rinsing 


Then put grain in a large bowl and cover with water.


Here is the grain soaking in the water.
Now cover the soaking grain with a towel or something ( I have found that soaking in the dark helps in the long run) and let it soak for at least about 27 hours.
I'm sure I have piqued your interest by now, but I will leave you hanging until tommorow when we do the next step on growing fodder. One more thing, I'm telling you how I have done my fodder, but I have found that growing fodder is a lot of trial and error. So it will require you to experiment for your self. I hope you have enjoyed this . Keep checking for more on the Fodder Project.

Chickenman

I will try and make sure I have a new post ready by tommorow.
Thanks and keep visiting

Friday, October 4, 2013

Coming Soon

Struggling with feed costs ? Need a way to save money without compromising on your chickens health? Well if you do then you will like the next few blog posts that are coming soon. Keep checking because I will show you what I'm  feeding to my chickens now. It has really helped cut down on the feed bill.

Chickenman